Step Two: The knit stitch
There are two types of stitches that are prevalent in the knitted garments that have survived from the 16th century. The knit stitch and the purl stitch. It’s worth noting that unlike modern methods of using alternating knit and purl stitches to create elasticity, in the 16th century, the purl stitch was apparently used mostly for decorative purposes. The earliest example I can come up with of knit/purl ribbing used to add elasticity to stockings is this pair in the Victoria & Albert Museum dating from 1640. Though that child’s vest I posted earlier today seems to me to have ribbing around the neck.
I’ll let others argue the point.
Of course, now that I know how to do it, it seems a no-brainer. Of course that’s the problem with working backward in time, trying to replicate items that predate modern methodology. What seems obvious to us took centuries of trial and error to accomplish.
For instance, three-dimensional knitting also seems to have been a long time coming. That’s when you knit a garment rather than knitting a bunch of cloth that you then sew into a garment. Of course some sewing after the fact is inevitable when you’re making something like a sweater (or so I’m told) but at times it seems like the early modern knitter saw him or herself as a weaver, making whole cloth to then sew into garments. By mid century at least, they unlocked knitting ‘in the round’ which is to say knitting a tube, but things like the foot of a stocking were still knitted flat and then sewn together to form thier final 3-dimensional shape.
of course, all that is just academic if you don’t know how to knit.
The Knit Stitch
Today, we’re going to knit. Working from our row of cast-on stitches I made yesterday, we’re going to insert the empty needle into the loop closest to the point so that they’re going in the same direction, one behind the other.

Note in the image below that you can just tell that I have the trailing yarn looped around my little finger. This applies friction rather akin to a belay break in climbing, slowing the yarn as it unspools and maintaining an even tension for the loops we’re going to be making.


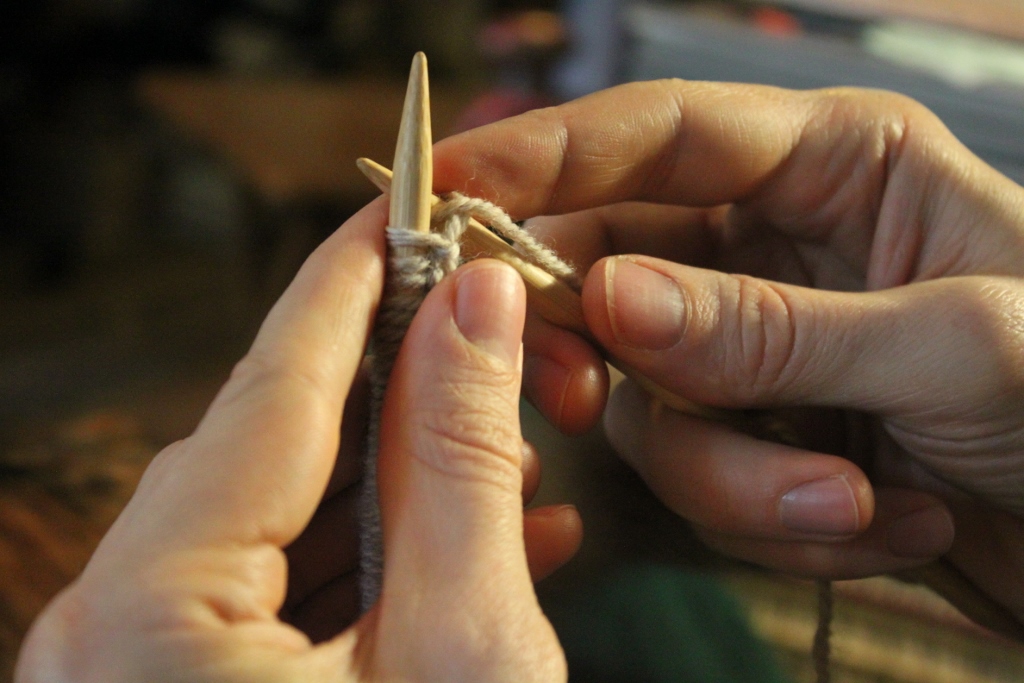
And let the earlier loop slip off the end of the needle.
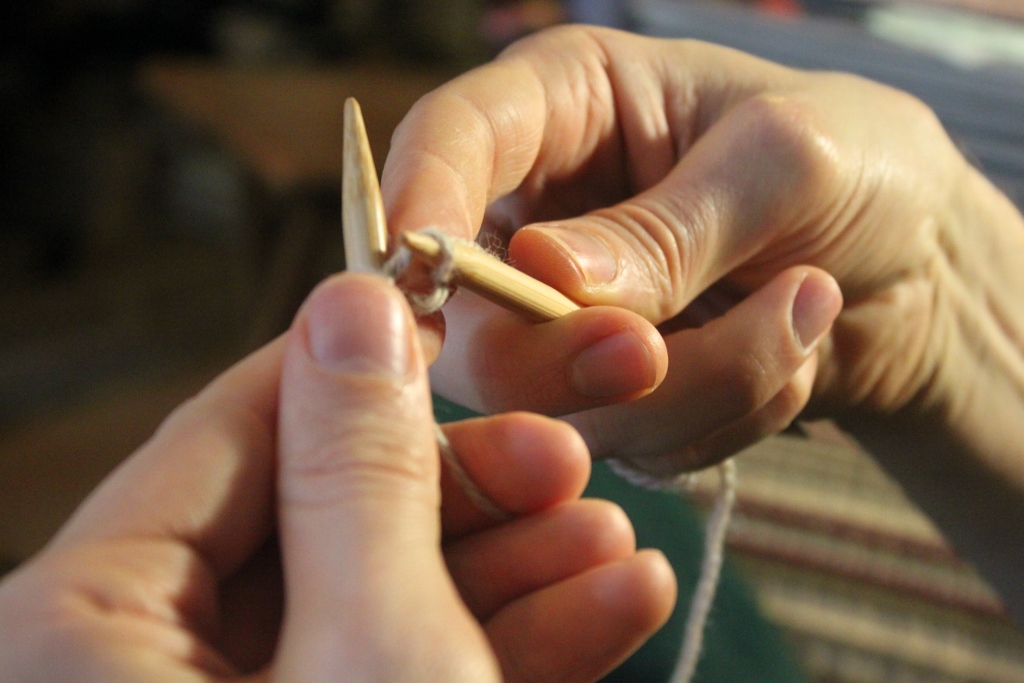
That’s knit one. Repeat that until you’ve moved all your cast on stitches to the other needle and you’ve completed your first row.


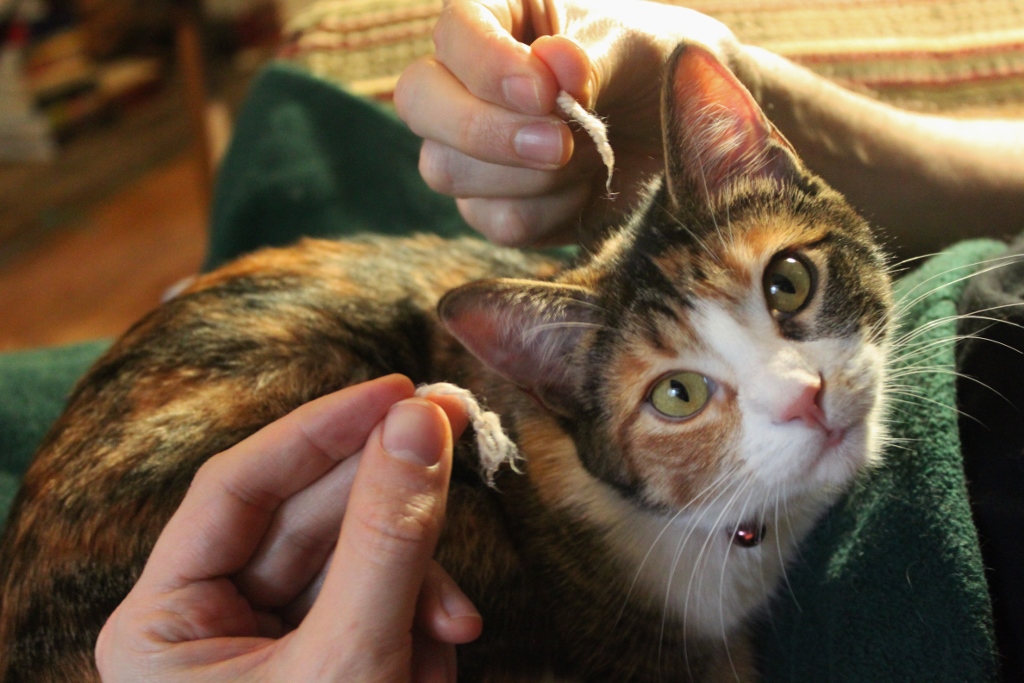
Obstacles: Knittin’ Kitten